After download and installation, we can access Nvidia’s LED Visualizer control panel in a few different ways. Keep in mind that this is for Nvidia 10 series cards only. For 20 series and above, Nvidia suggests to use a board partner solution like EVGA Precision X1.
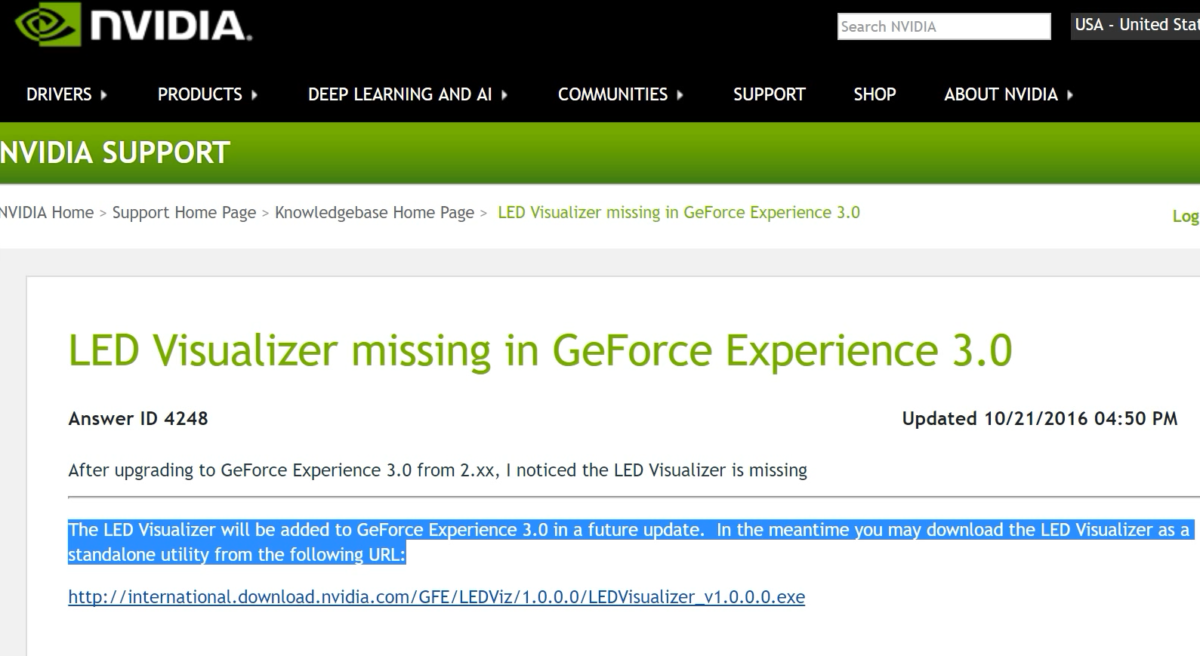
Step 1.) DOWNLOAD Nvidia Visualizer Standalone Utility
Nvidia LED Visualizer Standalone utility download page:
https://nvidia.custhelp.com/app/answers/detail/a_id/
4248/~/led-visualizer-missing-in-geforce-experience-3.0
Direct Download Link: http://international.download.nvidia.com/GFE/LEDViz/1.3.0.0/LEDVisualizer_v1.3.0.0.exe
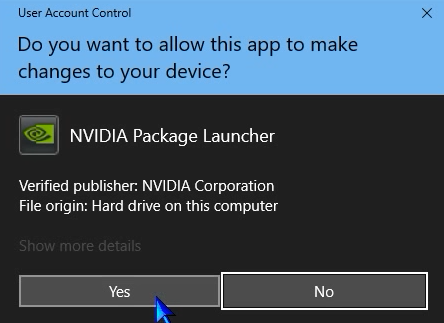
Step 2.) INSTALL Nvidia Visualizer Standalone Utility
Once we download the package, we can run the file to install the Nvidia LED Visualizer onto the system.
Step 3.) ACTIVATE Visualizer Control panel from 3 different locations:
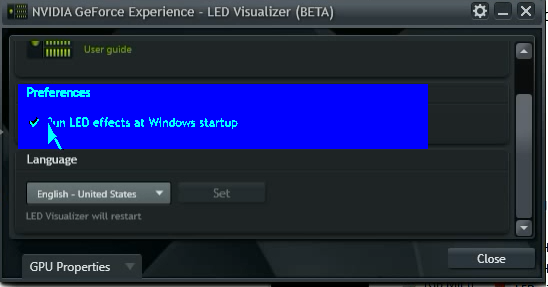
1.) Set “Run At Startup” After Install
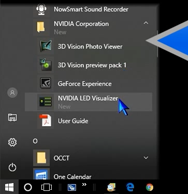
2.) Open from the Windows 10 start menu programs list (Nvidia Corporation)
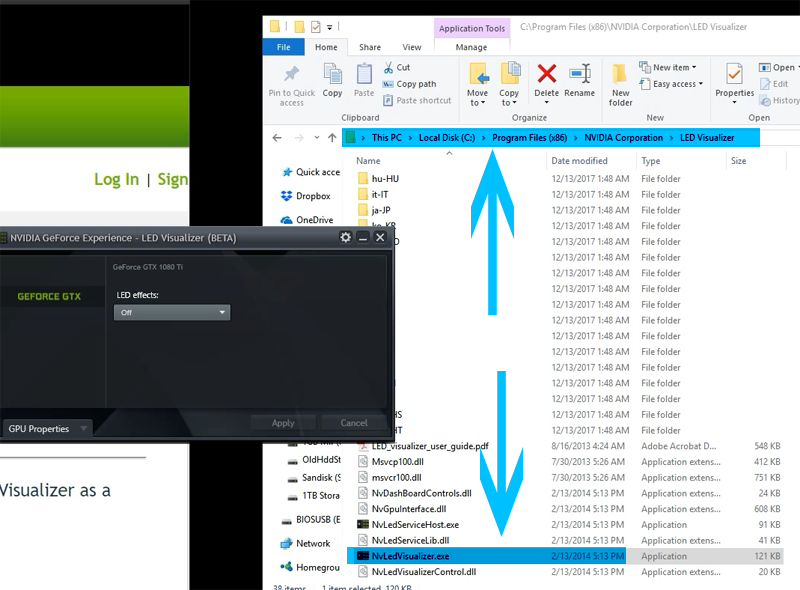
3.) Or, open .exe file directly from within the Visualizer program folder
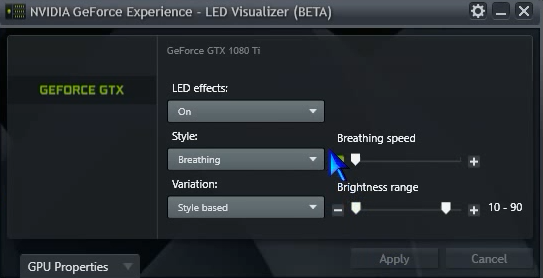
From The Nvidia LED Visualizer control panel: We can use the Visualizer to turn off the lighting completely or change the lighting effects.
“Please note: The NVIDIA LED Visualizer utility does not support the GeForce RTX 20 and GeForce RTX 30 series graphics cards.
For GeForce RTX users, we recommend using a software solution from one of our board partners such as EVGA Precision X1." https://www.evga.com/precisionx1/
-Nvidia
LED Visualizer User Guide:
-Configurations:
https://www.nvidia.com/en-us/geforce/news/
geforce-experience-nvidia-geforce-gtx-led-visualizer-user-guide/#3
-Introduction:
https://www.nvidia.com/en-us/geforce/news/
geforce-experience-nvidia-geforce-gtx-led-visualizer-user-guide/#1Nvidia Visualizer
Related posts:
 MSI’s Nvidia GTX 980 TI Lightning Unboxing
 Corsair K70 RGB 2016 – Software download location and install
 Acer Predator XR341CK 34in UltraWide 3440 x 1440 FreeSync Monitor Review
 Asus PG348Q Ultrawide G-sync Monitor Review
 AMD VS NVIDIA: XFX FURY X VS MSI 980 TI LIGHTNING (Unigine Heaven)
 Warzone Game Stuck on ‘Connecting to Online Services’, A Server Connection Fix To Try
 Samsung Galaxy View 18.5″ Tablet (Asphalt 8 Airborne Demo)
 Samsung Galaxy View 18.5″ Tablet (Clash of Clans Demo)
 Samsung Galaxy View 18.5-in Tablet (8 ball pool Demo)